How to Install & Activate Wawp WordPress Plugin and Update
Learn two simple methods to install the Wawp plugin on your WordPress site. This guide covers the recommended dashboard method and a manual installation via FTP.
Install Free Version via WordPress.org
The free version includes limited features, but you can download it directly from the WordPress directory or from your website. After downloading, you can upgrade to Wawp Pro later.
Install Pro Version Via Wawp Free
With a single click, you can switch to the Wawp Pro version from within the Wawp Free version you downloaded from the official WordPress directory. From Wawp Dashboard > Subscriptions click on Download and install button 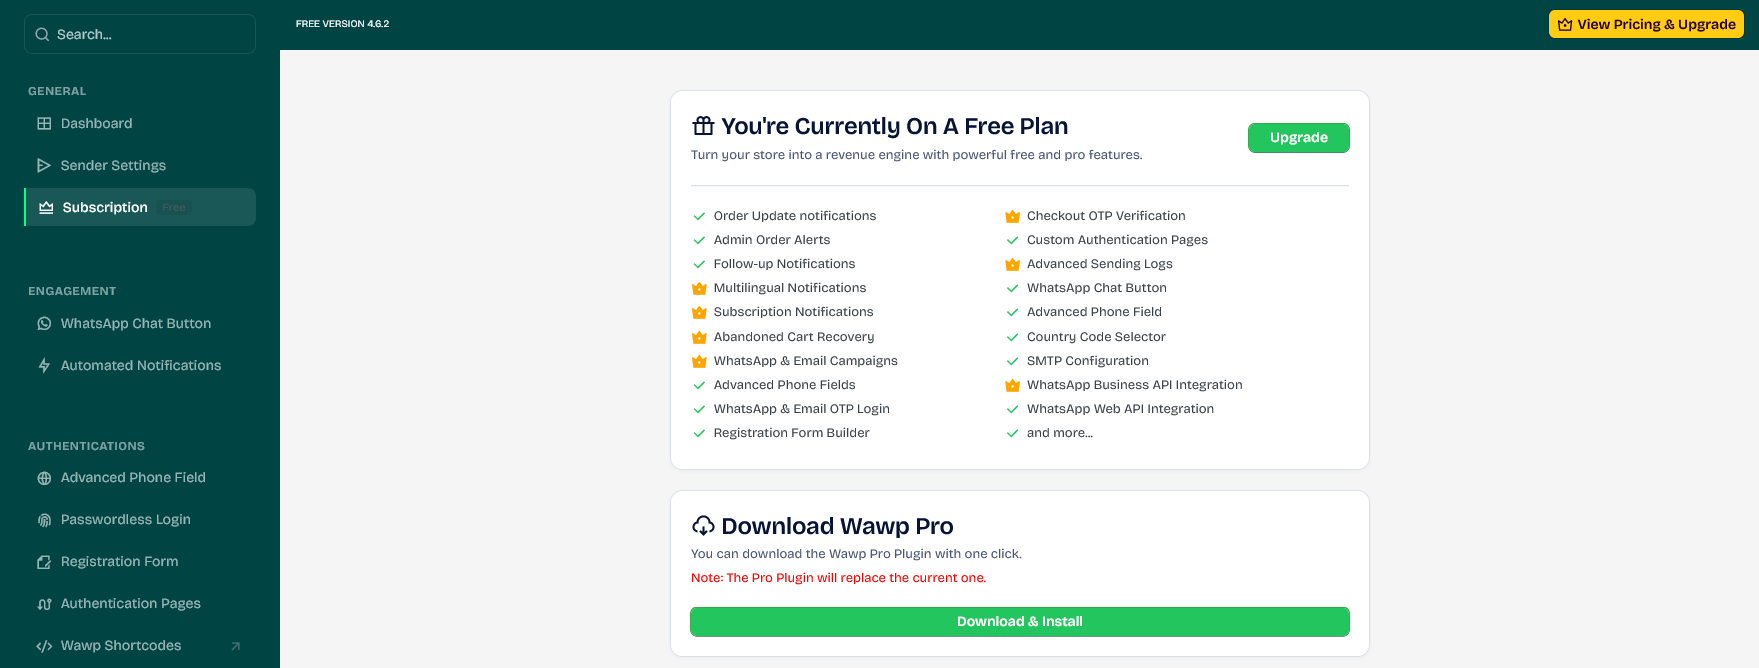
Install Pro Version via FTP/cPanel
To take full advantage of our features, simply download the plugin file and upload it to your website via plugins or FTP.
- Download the Wawp plugin From this direct link.
- Connect to your WordPress site using an FTP client or your hosting provider’s cPanel File Manager.
- Navigate to the
wp-content/pluginsfolder. - Upload the plugin’s ZIP file to this folder and extract it. A new folder named
automation-web-platformwill be created. - Log in to your WordPress admin dashboard.
- Go to the “Plugins” section.
- Find the “Automation Web Platform For WooCommerce” plugin and click “Activate”.
Or you can Upload it direct from your WordPress Dashboard > Plugins > add new plugin then chose Upload plugin


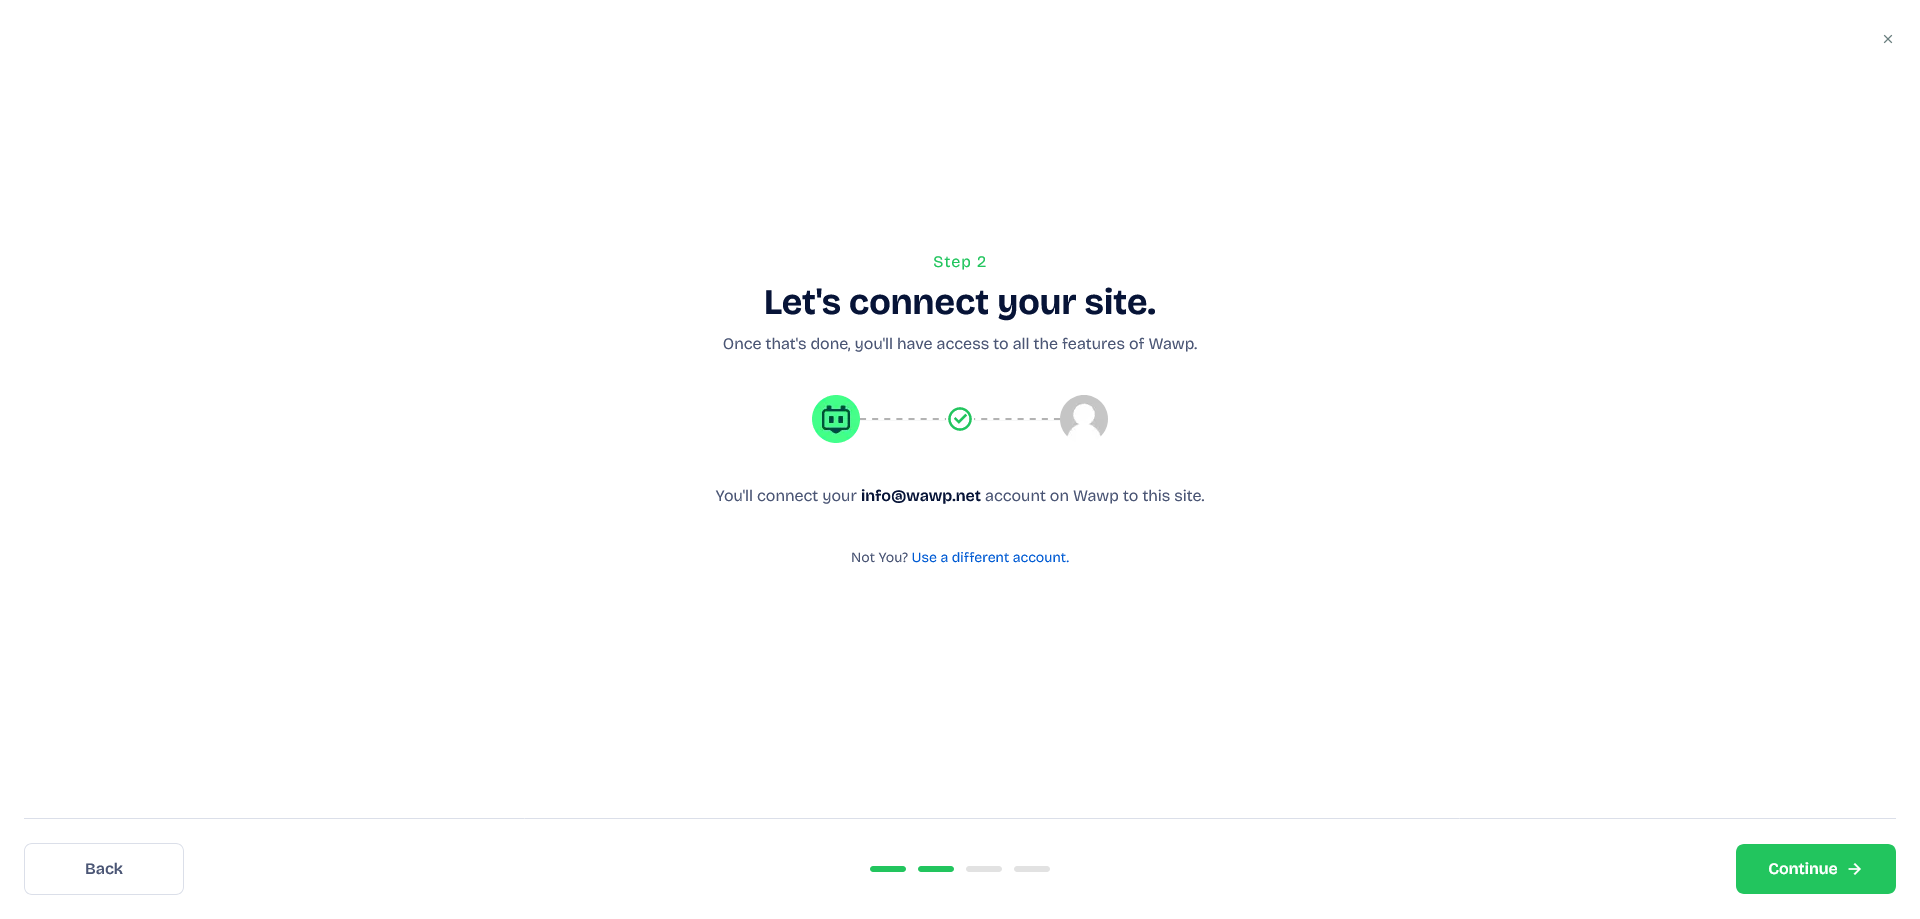
After Activation: Connect Your Wawp Account
After activating the plugin, you will be redirected to a new page to connect your Wawp account.
Connecting your Wawp account is required to access all features of the plugin, including automated notifications and verifications.
If you don’t have a Wawp account yet, you can create a free account to get started. 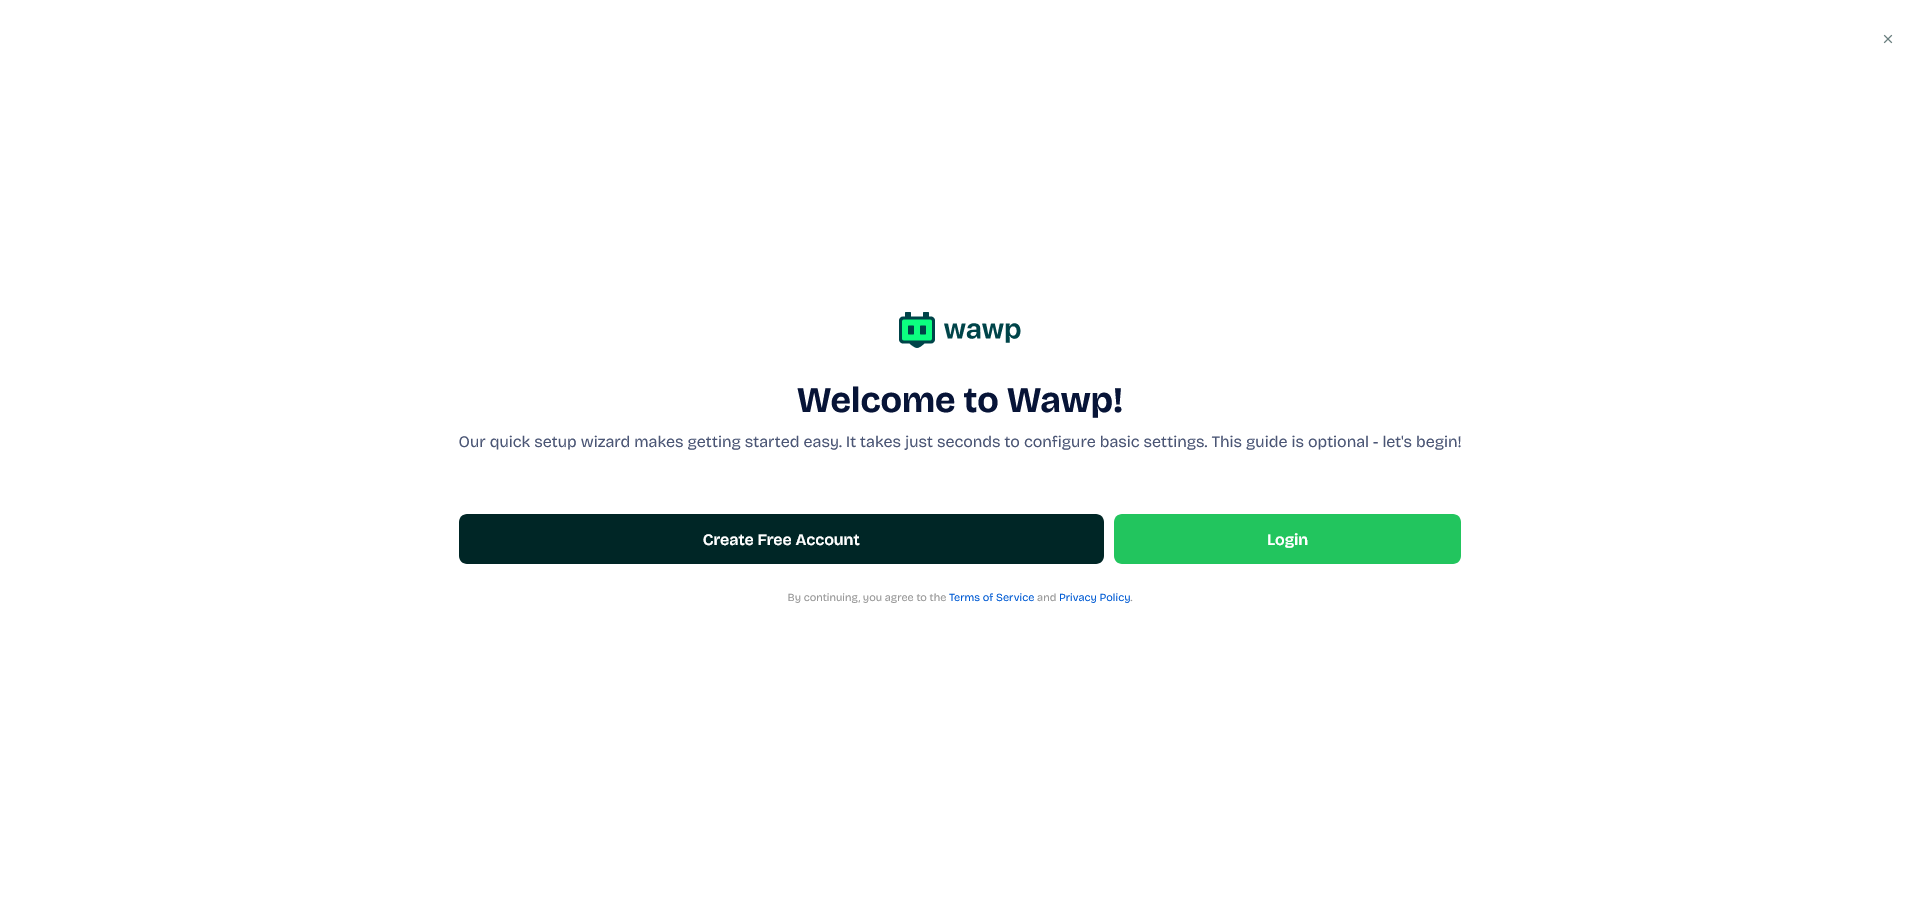
 After activation, you will be able to configure the plugin’s settings and connect it to your Wawp account.
How to Update Wawp plugin on your site
Note: This feature is available starting from version 5.0  From any page where Wawp is installed, you’ll find a notification bar: 🚀Wawp (New Version Number) is ready! (You’re on “Current Version Number”) – update now to enjoy the latest features and fixes✨ Just click the update now button and the plugin will be updated instantly so you can enjoy the fixes immediately.
After Update
- Make sure to disable the plugin and then re-enable it to create the missing elements in the database that were recently added.
- There are no system status issues within Wawp